Top News


Improving SEO for your Blogger blog can help you get more traffic and visibility in search engine results pages. Here are some tips to optimize your Blogger blog for SEO:

  1. Choose the right keywords: Research and identify the right keywords that are relevant to your blog post and use them in the title, meta description, and throughout the content of your post.

  2. Optimize your post title: Ensure that your post title is attention-grabbing and contains your primary keyword.

  3. Use descriptive URLs: Make sure your URLs are descriptive and contain your primary keyword. Avoid using default URLs such as "www.example.com/p=123".

  4. Use headers and subheadings: Use H1, H2, and H3 tags to organize your content, and include your keywords in the headers.

  5. Optimize images: Use descriptive file names and alt tags for images to make them more searchable and relevant.

  6. Internal linking: Link to other relevant posts on your blog to create a better user experience and to help search engines understand the content on your site.

  7. External linking: Link to high-quality external sources to provide additional information and credibility to your blog.

  8. Meta descriptions: Write a compelling meta description that accurately summarizes your blog post and includes your primary keyword.

  9. Publish high-quality content: Finally, write high-quality, unique content that provides value to your readers. This is the most important factor in improving your blog's SEO.

By following these tips, you can improve your Blogger blog's SEO and attract more traffic to your site.


Themify has officially reached a decade and we couldn’t be more grateful to YOU for making it happen. To celebrate this special occasion, we are offering a mega deal you surely do not want to miss: 40% OFF regular memberships with code ThemifyX and $75 OFF Lifetime Club with code ThemifyXlife

Hurry! This special offer is only valid through August 24, 2020.

This milestone would not have been possible without your support. Thank you for growing with us throughout these years, and sharing all your success stories with us. We hope to start our 11th year bigger and better than before.


WordPress Hosting is a good option for the new beginner who is trying to build a website but doesn't want to involve too many system setups besides the WordPress site design and configuration. 

because this type of hosting will help you to preconfigure everything include the basic WordPress system installation. you just need to refer the backend Admin credential to access the system to continue your website site design only. 

some people may ask why I don't want to directly signup the same hosting with WordPress.com?
em.. that is only 1 answer I can share with you. because of the monthly fee. what is share the cheaper plan but you can get the full WordPress feature available.


if you refer my corporation below, you will know the answer by yourself 

Package and monthly fee from the WordPress.com 
USD 4 for Personal - Best for Personal Use
USD 8 for Premium - Best for Freelancers
USD 25 for Business - Best for Small Businesses
USD 45 for eCommerce - Best for Online Stores

Package and monthly fee from Exabytes 
RM16 / USD 4 for WP Blogger - Great start for a single site
RM24 / USD 6 for WP Lite - Ready boost for a single site
RM36 / USD 8 for WP Essential - Step up with the growth / 2 WordPress Site 
RM72 / USD 16 For WP Plus - 2X resources for more sites / 5 WordPress Site

After the quick comparison. you will know which plan you should proceed to signup,
and the Exabytes is your local Hosting provides. if you have any issues. The communication will be much easier for oversea hosting solutions.

for more details. you can click the link or banner below.


I'm going to explain the basics of Elementor. To show you how it works inside of WordPress. It's essential to understand how Elementor, So, let's get started. What do we need to follow? The difference between Elementor for free and Elementor Pro. Why you need a theme and what WordPress does.

To simplify it, a website is nothing more than a few pages that are connected with each other. A page consists of a menu with a logo and some menu items, the content of the page, and the footer. The menu and footer appear on all pages, and the content within those pages is different on all pages. So, to edit these pages, you will need to go to the backend of WordPress. WordPress is the interface where all of your pages are, your plugins, your theme, and your settings, which you can only see when you log in. So, back in the days, you would download a theme somewhere on the internet, which would give you a lot of options to edit your pages, your menu, and your footer.

For every page, you would go to a specific edit page where you could play around with the settings of that page. Then you would save it and check if your changes worked out on the live page. This meant that you had to go back and forth all the time to see if it worked out in the way you wanted. Also, all of the themes had different options, but no theme had all the options. So, often, you would stumble upon limitations of that theme, and you would need custom code to get the page that you want. This was how Elementor worked for years. But then, something new hits the market, the page builders like Elementor. With a page builder, you can skip the edit page and go straight to the live page. You will get a sidebar with different options, and you can drag and drop different elements on the page. This means that you don't need to use the problematic edit page anymore. And build up your pages super-fast with an experience that's similar to a design tool. The only reason you will still need your theme is to run Elementor, because Elementor cannot run without a theme. And you will need your theme to edit your menu and your footer.

So, let's build our first page. So, here I am on the free version of Elementor on a blank new page and I can just drag the elements out of Elementor on my website. So, for example, I can just drag a video on a canvas and then, I can place a YouTube link in here and I just have a video on my website. Or for example, if I click here, I can add a title super easy and I can type the title here. I can drag a button and make it a link to a website that I want. Things like an image gallery, a progress bar, or for example, a testimonial, where you can change the photo, the text, and everything about it. And then, if I just click publish, the website is saved and this page is live. And if you have no inspiration for what to put on your page, they have these templates. And these are fully designed templates that you can click on to get some inspiration. And what's even better is that you can insert them. So, if you have a template that's similar to the website you want to create, you just click on insert. And then, this whole page is inserted into your page, and then, you can change that page. So, let's just try that for now. Let's insert this page. But now, this whole page is inserted into my page, and I can just change the text in here. And if I then click update, this page is also live. So, this is super cool. But for people who want to make their own design, and don't want to rely on a design from somebody else. They also have something great, and that's called blocks. So, that's what you find here. And with these blocks, you can build up a page really fast. Because these are the blocks, the sections on every page. So, let's say you want to build your own portfolio. So, you've made a little sketch just on paper with the first section, and you want a big video in the background here,  you want some text then, you want your services section, and you want three parts here. And then, you maybe wish to an image gallery for your work. And then, perhaps you want some contact information with a map. So, let's say this is what you want to build. And this is where the categories come in. So, they already have the most common categories here in the block. So, if you click on here, that's like the upper section of your website. You can already insert something like we've sketched on a paper. And then you can replace this image background with a video. What's also a nice benefit. 


about Elementor Pro is that they have a lot more templates, right. Because as you can see, a lot of those blocks are only available when you buy Pro. So, for example, on these pages, you will see this first five are free, but then, a lot of them have this Pro icon. So, if you want all the templates that they provide, you would also need Pro. Also, they will give you a lot more widgets, right. Because this is pretty limited. It's already super lovely, which you can do with the free version.

But for example, I'm here on a website where Elementor Pro is installed. You would have this new section, right. So, you could add sliders, you could add a new navigation menu, you can insert a form, your own contact form. And most importantly, you can insert your blog post and design them yourself. And also, when you're designing more significant websites, you will have a lot of elements that are the same on every page. And if you only have the free version and something changes, you would need to change every page manually. And that's not a really nice experience. So, that's why in Pro they have this thing called template. So, if you think like, okay, this part I'm going to use on all the pages on my website. You can click on it and click on save as a template. And then, if you change something inside of the template, it will change on all the pages, right. So, if you're building bigger websites, you would want that template feature, trust me. And what's also really great about the Pro version is that they have a role manager. And the role manager allows you to limit what the client can do. So, if you're working for a client and you want them to edit the text only, but not mess up your design, they have a roll manager. So, for example, you add a user, a vapor user, and you give them their own email and their own login. You can say they can only edit the content. And then they can only edit the text and the images. And if you give them you know, all-access, they can just mess up your whole website, and you need to start over. So, that's also a really nice feature if you're working with clients.  So, if you want to get started the download link for Elementor free is in the description. I've also put the link for Elementor Pro, and there's also a recommendation for hosting if you don't have Hosting yet.

https://elementor.com/

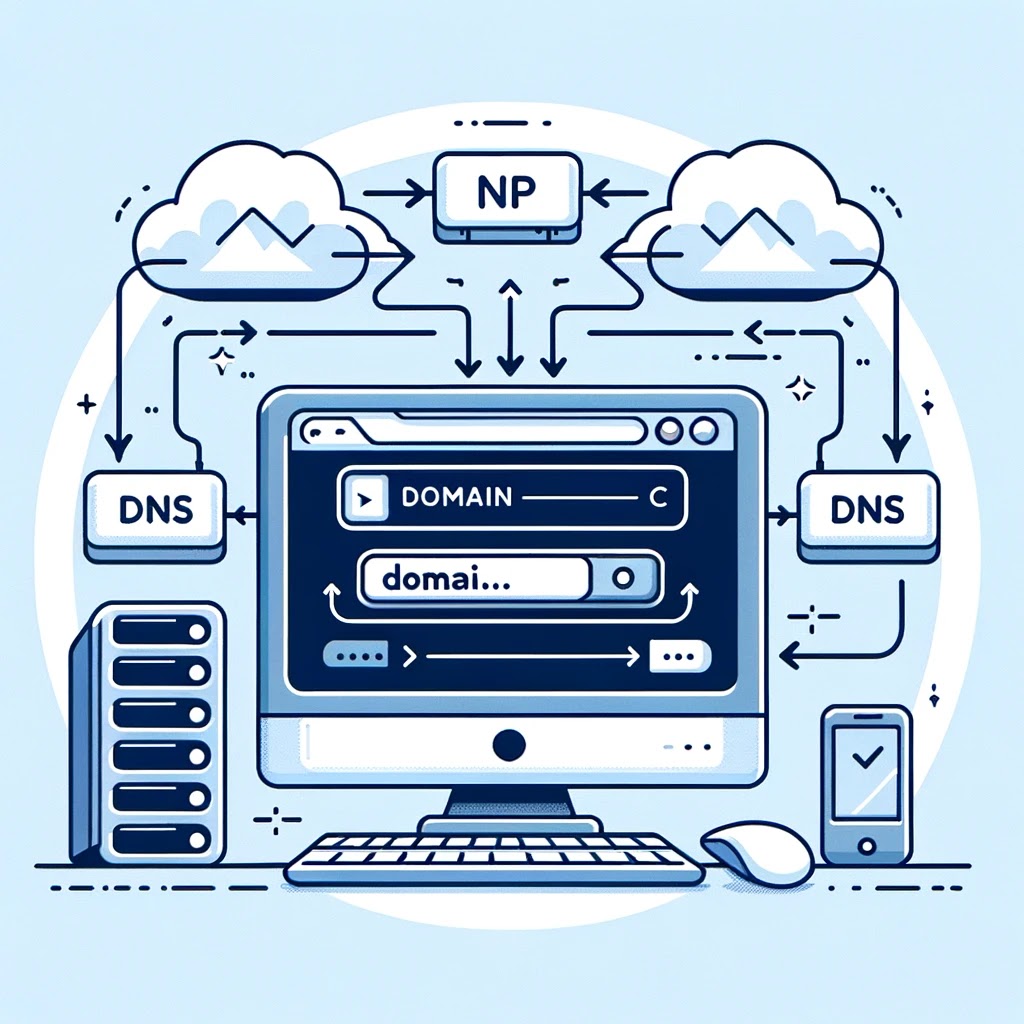
            My Own Domain = My Blogger
Chapter - Convert the blogger to your own domain name


It will look good and professional if you can set up the blogger with your own domain name. 


You have a few options for this chapter here. 

  1. You already own a domain. You just need to set up the domain to this google blog page
  2. You decide to purchase the domain directly with Google.
  3. you don't have the domain yet, but going to register with your one prefer 3rd party provider. 


Any option will do for my guide here. You can follow my step below to complete it. 


Refer to my screenshot below, here are the step for you to proceed and get your domain work in the google blogger platform 


Search for the left side menu of the blogger. select the Setting  and search for the "Custom Domain" 
Just click the Custom domain text. as per my screenshot below.  

Pop up window will appear as below, you have 2 options here. 


1. type your domain name like www. myowndomain.com and click the SAVE text

Google will generate a special URL for you to configure to Link this domain to your blog. 
you are required to set this link in your domain registration provider to point the domain name to google blogger solution. 

the message will show an example as below : 

locate your Domain Name System (DNS) settings and enter the following two CNAMEs: 
(Name: www, Destination: ghs.google.com) 
This is to point your link to the google hosting system.
 
(Name: 2laicb6jhww2, Destination: gv-7cbd72o2ntgecn.dv.googlehosted.com). 
this is the unique link generate from google to your blog. with this link assign and setup at your domain, google hosting solution only able to identify you are the domain owner and assign it to your blog. 


2. If you prefer to directly purchase the domain with google. ( recommended ). you can proceed with the action below. 


Click the [ Buy A Domain ] button, you can refer to the screenshot 3
the screen below will appear. you can just search the domain still available to register via Google Domains service. 


Blogger Free for Life Hosting
Chapter 4 - Website Content


Make sure you already completed the first 3 chapters guide I mention before you did this final step. 

Chapter 1 - Hosting Preparation
Chapter 4 - Website Content 

This part is nothing much related to any website setup and design anymore. is just what is the information you would like to present and share on the website. 

Insert the content you prepare and upload the photo in the Post / Page. Click the "Publish" button, the page will ready to view for anyone visiting your website.

The only one thing I'm would like to highlight in this chapter is just to ensure you understand the different between "Post" and "Page"

Post - is a dynamic article content. The blogger system will automatically allocate the post content to the predefined section appear from the lasted to old sorting by the publish date. just ensure you assign the correct "Labels" in your Post Settings.

Page - is a static web page. once you complete the information. You are required to manual assign to the blogger system. to instruct where you would like to show the page. some basic manual setting is required to be done by yourself before the page will appear on the website. suitable for some page you would like to assign to the Manu button like About Us, Contact Us, Our Vision or Misson.   
if you are not very familiar with the blogger system. you can always use the "Post" article first. 


Convert Blogger Main Page To Website Design
Chapter 3 - Template Customization


Chapter 1 - Hosting Preparation
Chapter 4 Website Content 

I believe you may spend more time in this section because this part involves a little bit more on the XML text replacement and title edit via the blogger layout. The main job is going to view your current blog page. find the title at each table and replace it with your own preferred wording. 

Only two areas you need to access in the blogger page setting. 

Layout - Overall entire page layout design. you can add or remove the section if you wish to change from the original template design. most time you will only access this area at the very beginning website creation time. no require to keep access to change any setting after setup configuration completed. 

Theme - The main area for you to install and setup the design theme. this section will be the XML coding edit place as well. some website setting requires to edit the XML coding to complete the configuration. No worry, still no programming skill at this part. what you need to do is just search the keyword of the social link and replace it to your own social account link. like below:
<div id='top-social'> 
<a href='http://facebook.com/XXXXX' target='_blank'><i class='fa fa-facebook'/></a> 
<a href='http://twitter.com/XXXXX' target='_blank'><i class='fa fa-twitter'/></a> 
<a href='http://instagram.com/XXXXX' target='_blank'><i class='fa fa-instagram'/></a> 
<a href='http://pinterest.com/XXXXX' target='_blank'><i class='fa fa-pinterest'/></a>
<a href='http://youtube.com/XXXXX' target='_blank'><i class='fa fa-youtube'/></a>
</div>
More details guide will share at the Tutorial Guide in the future article post.   

Featured Posts